

How to Grow Microgreens at Home (Step-by-Step Beginner Guide)
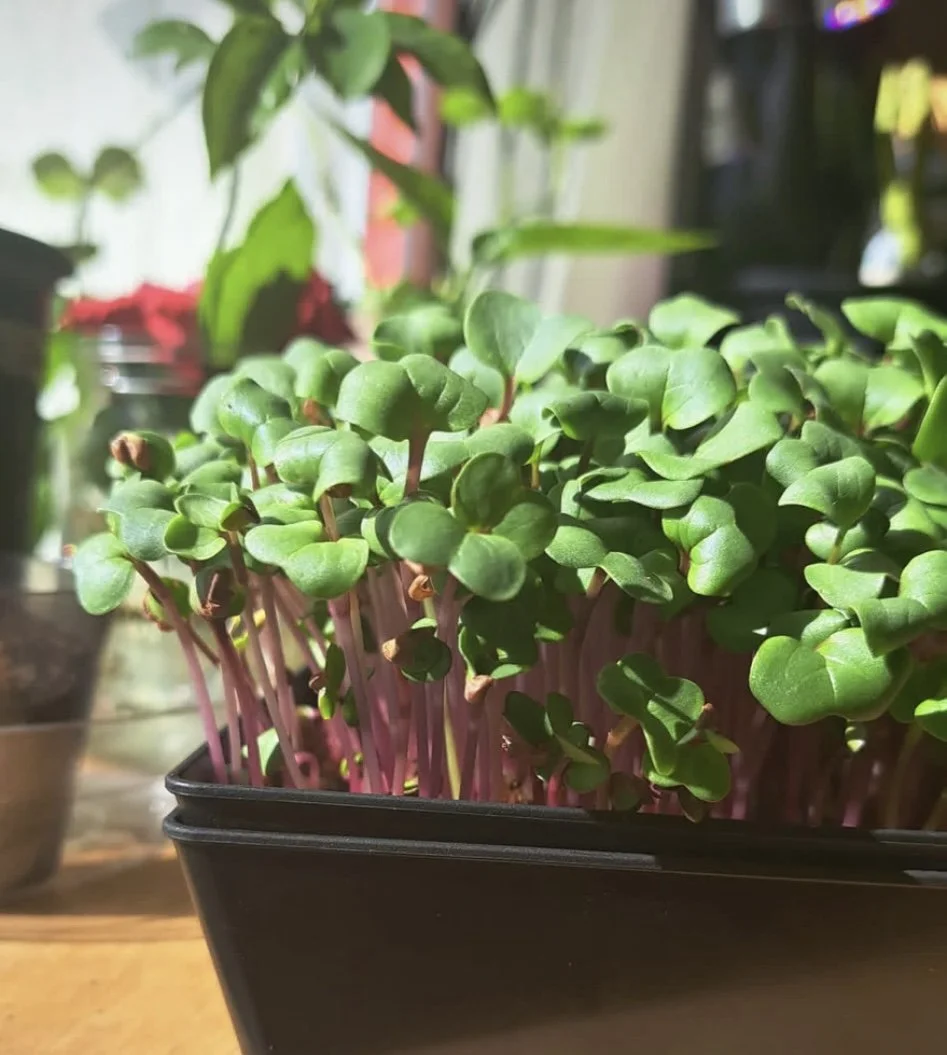
Pictured: Pink Radish Microgreens- grown in our 5×5 mini grow kit. Photo courtesy of Chef Alli of TUME
Grow Fresh, Nutrient-Dense Food Right on Your Counter
If you’ve ever thought about growing your own food but didn’t know where to start, microgreens are one of the simplest ways to begin.
In just 7 to 10 days, you can turn a handful of seeds into fresh, flavorful greens you can add to meals immediately.
No garden. No complicated setup. Just a simple system.
In this guide, we’ll walk you through exactly how to grow microgreens at home, even if you’ve never grown anything before.
What Are Microgreens?
Microgreens are young vegetable greens harvested just after the first leaves develop.
They are:
• Packed with nutrients
• Quick to grow
• Easy to maintain
• Perfect for small spaces
Think of them as a fast, simple way to grow real food at home.
Why Grow Microgreens at Home?
Most people start for one of three reasons:
• Health: Fresh, nutrient-dense greens anytime
• Convenience: No trips to the store
• Control: You know exactly how your food is grown
And once you do your first tray, you’ll find this is actually easy.
What You Need to Get Started
You only need a few basic things:
• Seeds such as broccoli, radish, or cabbage
• Growing medium like coco coir or soil
• A tray with holes for drainage
• A solid catch tray to hold water
• Light from a window, desk lamp, or LED light
• Water
If you want everything set up for you, a complete grow kit simplifies the process and removes guesswork. You can check out our signature grow kits here
Step-by-Step: How to Grow Microgreens
This is the exact method we use. It is simple, repeatable, and beginner-friendly.
Step 1: Prepare Your Tray
Fill your growing tray with soil or coco coir.
Level the surface. Do not pack it down too hard.
Step 2: Add Seeds
Evenly spread seeds across the surface.
You want good coverage, but not heavy overlap.
Think dense, but not piled up.
Step 3: Germination
Mist with filtered water until seeds and soil are wet. Very wet, but not dripping out the bottom.
Place a second tray directly on top of your seeds.
Make sure it fits snugly. Add light weight.
This creates darkness, even pressure, and strong, uniform sprouting.
Let this sit for 3 days.
Step 4: Introduce Light
Once seeds have sprouted, remove the top tray.
Place your tray under light. This can be sunlight or an LED.
Now they will start turning green and growing upward.
Step 5: Water from the Bottom
Add water to the bottom catch tray and let the roots pull water up naturally.
Avoid watering from the top. This helps prevent mold and keeps your greens clean.
Step 6: Grow and Observe
Over the next few days:
• Keep consistent light, 8-12 hours
• Refill water as needed, 1x per day
• Watch them grow quickly
Most microgreens are ready in 7 to 10 days.
Step 7: Harvest
Use scissors to cut just above the soil line.
Harvest what you need or cut the whole tray.
Step 8: Store
Store in a sealed container in the fridge.
They are best used fresh within a few days.
Common Beginner Mistakes
Overwatering
Solution. Always water from the bottom, and observe conditions in the tray.
Mold confusion
Root hairs can look like mold. Root hairs are feelers looking for water. They will disappear.
Not enough light
This leads to tall, weak greens.
Poor airflow
Keep air moving if possible, but don’t put a fan directly on the tray.
How Long Do Microgreens Take to Grow?
Most varieties are ready in 7 to 10 days from planting to harvest.
It is one of the fastest ways to grow your own food.
Best Microgreens for Beginners
Start with these:
• Broccoli
• Radish
• Pea shoots (soak seeds 4-6 hours before planting
They are fast-growing, resilient, and taste great.
Do You Need a Grow Kit?
You can piece everything together yourself.
But many people prefer a simpler path.
A kit gives you:
• Everything included
• No guesswork
• A smoother first grow
If you want a straightforward way to get started, our grow kits are designed to make your first grow simple and repeatable. Plus, you will get access to our exclusive community of Plant Prana microgreen growers. Here we answer all your questions plus offer inspiration to keep you growing!
Start Growing Your Own Food
There is something powerful about growing even a small portion of your own food.
It is simple. It is practical. And once you start, it becomes part of your routine.
Start your first tray and see how easy it really is.
FAQ
Do microgreens regrow after cutting?
No. Microgreens are typically a one-time harvest. There are some exceptions like pea shoots and wheatgrass.
Do I need sunlight to grow microgreens?
No. LED grow lights work very well.
Are microgreens healthier than vegetables?
They can be more nutrient-dense per ounce, making them a strong addition to meals.